How to Choose the Right Excavator Bucket?
Choosing the right Excavator Bucket affects far more than the shape of a machine’s attachment. It changes how much material moves per pass, how quickly an operator can work, and how much strain reaches the excavator. Picture a trench with compacted clay: a wide general-purpose bucket may take larger bites, but a narrower profile can make cleaner cuts and reduce unnecessary spoil. Small choices show up on site.
Caterpillar’s Performance Handbook, Edition 49, estimates excavator production using bucket capacity, material fill factor, cycle time, and operating conditions. That framework matters because a bucket’s rated volume does not guarantee the same amount of material in every pass. Wet clay, loose sand, and blasted rock behave differently. The handbook provides a useful estimating method, not a substitute for checking actual site performance.
Machine compatibility matters just as much. Komatsu excavator product specifications list bucket capacities by machine configuration, underscoring the need to match attachment size to the carrier. An oversized bucket can reduce control or exceed practical lifting limits; an undersized one may waste cycle time. There is no perfect bucket for every task. That is easy to forget when comparing catalogue numbers.
This guide considers material, job type, bucket geometry, capacity, and machine limits. It also flags where supplier advice and a site trial can improve a decision. Because real ground is rarely as predictable as a specification sheet.
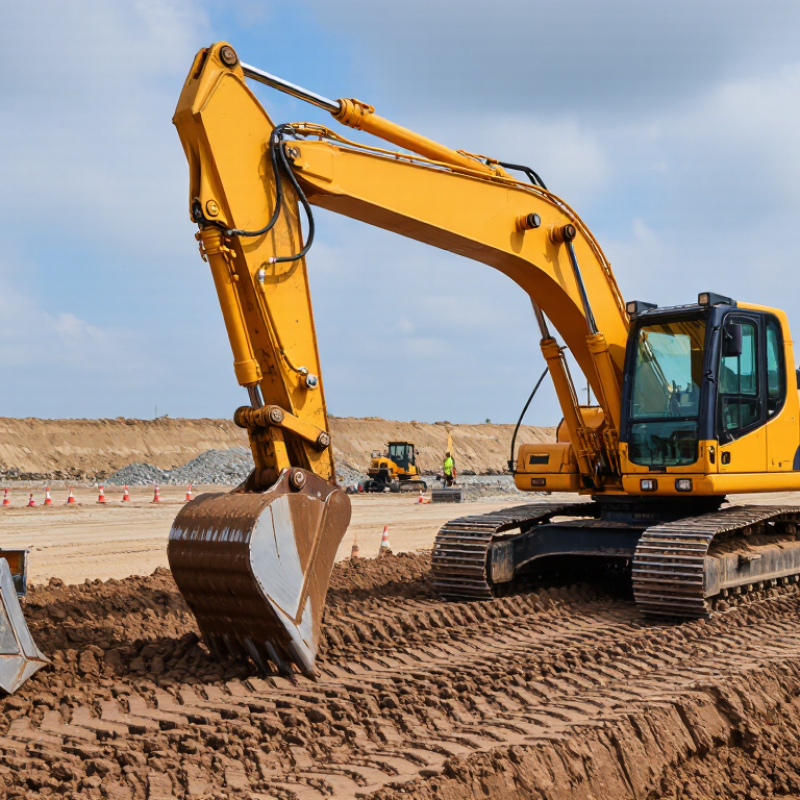
Define the Task and Material: Digging, Trenching, Loading, or Cleanup
Choose the bucket for the work cycle and the material in front of the machine. For digging in firm, mixed soil, a general-purpose bucket with teeth can penetrate effectively. In softer ground, a wider bucket may move more material per pass. Trenching calls for a narrower bucket sized to the required trench width; an oversized bucket wastes fuel and disturbs extra soil. Check the ground, too. Damp clay can cling to the bucket, while loose gravel tends to spill from an overfilled one.
Loading and cleanup need different edges. A wider bucket can help load loose aggregate, but keep the load within the excavator’s rated capacity. For grading or clearing shallow debris, a smooth-edged cleanup bucket offers a broader contact area. The USGS 2024 Mineral Commodity Summaries estimated U.S. 2023 construction sand and gravel production at 960 million tons, and crushed stone production at 1.5 billion tons. These figures underline how often machines handle loose and angular materials, but they do not determine the right bucket for a particular site. Field conditions vary. Recheck after the first few passes: if material spills, sticks, or strains the machine, adjust the bucket choice or fill level.
Match Bucket Width to Trench Dimensions and Machine Clearance
Choose bucket width from the trench’s required clear opening, not from its outside measurement alone. Include the side plates and teeth when checking the cut width. A bucket that is several centimeters too wide can disturb the trench walls and create extra cleanup. That difference matters. A bucket that is too narrow may need repeated passes, leaving an uneven bottom. Check the site dimensions with a tape measure; drawings do not always capture sloped or disturbed ground.
Then check the machine’s working clearance. Make sure the bucket can reach and curl through the trench without striking the trench edges, nearby structures, or stored materials. The excavator also needs room to sit level, with its tracks clear of the excavation edge. On a confined site, a narrower bucket may give better control, even if it slows production. A width chosen from the plan alone can still be wrong in the field. Recheck after the first cut, especially when the soil crumbles or the trench line shifts.
Check Payload Using Material Density, Bucket Capacity, and Lift-Capacity Charts
How to Choose the Right Excavator Bucket?
Start with the material’s loose bulk density, not its appearance. Common field-planning ranges are about 1.5–1.7 tonnes per cubic metre for dry sand and 1.8–2.1 for wet clay; moisture and grading can shift them. With a 1.0 m³ bucket filled to 90%, dry sand weighs roughly 1.35–1.53 tonnes. That is payload alone: add the bucket and coupler before checking machine limits. Bucket capacity also depends on whether the figure is struck or heaped. Small details matter.
Compare the loaded weight with the lift-capacity chart for the machine’s exact boom, arm, and working radius. ISO 10567:2007 sets excavator lift-capacity test procedures; rated capacity is based on the lower of 75% of tipping load or 87% of hydraulic lift capacity. A chart value at the front of the machine may not apply over the side. I still recheck the radius in the field, because a small change can alter the safe load more than expected.
Tip: Weigh a representative bucket load when possible, then compare it with your density estimate and chart rating. If wet clay sticks to the bucket, do not assume the next load will weigh the same. Keep a margin for variable moisture, attachments, and uneven ground. These estimates are useful, but they are not a substitute for the operator’s manual or a site-specific assessment.
How to Choose the Right Excavator Bucket?
Estimated material payload for a 0.8 m³ bucket at a 90% fill factor
Payload is estimated as bucket capacity × fill factor × loose bulk density. The chart uses representative approximate densities; actual values vary with moisture, grading, and compaction. Check the machine’s lift-capacity chart at the planned reach and height, and include the bucket and attachment weight when assessing the total load.
Select Teeth and Cutting Edges for Abrasion, Impact, and Material Type
How to Choose the Right Excavator Bucket?
Select Teeth and Cutting Edges for Abrasion, Impact, and Material Type
Bucket teeth and cutting edges should match both the ground and the work cycle. Abrasive sand and crushed rock steadily wear steel, so choose wear-resistant teeth with adequate section thickness. In clay or damp soil, wider teeth can improve penetration and reduce clogging. For fractured rock, blunt, stronger profiles may handle impact better than narrow, sharp points. Still, no tooth survives careless prying.
A smooth cutting edge works well for grading and handling softer material. A toothed edge helps break compacted ground, but may leave a rougher finish. Reversible or replaceable edges can extend service life when wear is even; check the bucket maker’s fit specifications before changing parts. Inspect teeth and edges regularly. Uneven wear can signal a poor match, incorrect operating technique, or an imbalanced bucket. A clean-looking choice can still be wrong for the site.
Tips: Check the material at the actual dig face, not just the job description. Compare tooth wear after a shift, and note whether the bucket struggles, clogs, or takes repeated impacts.